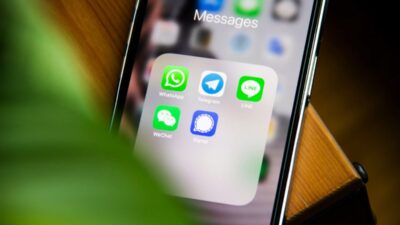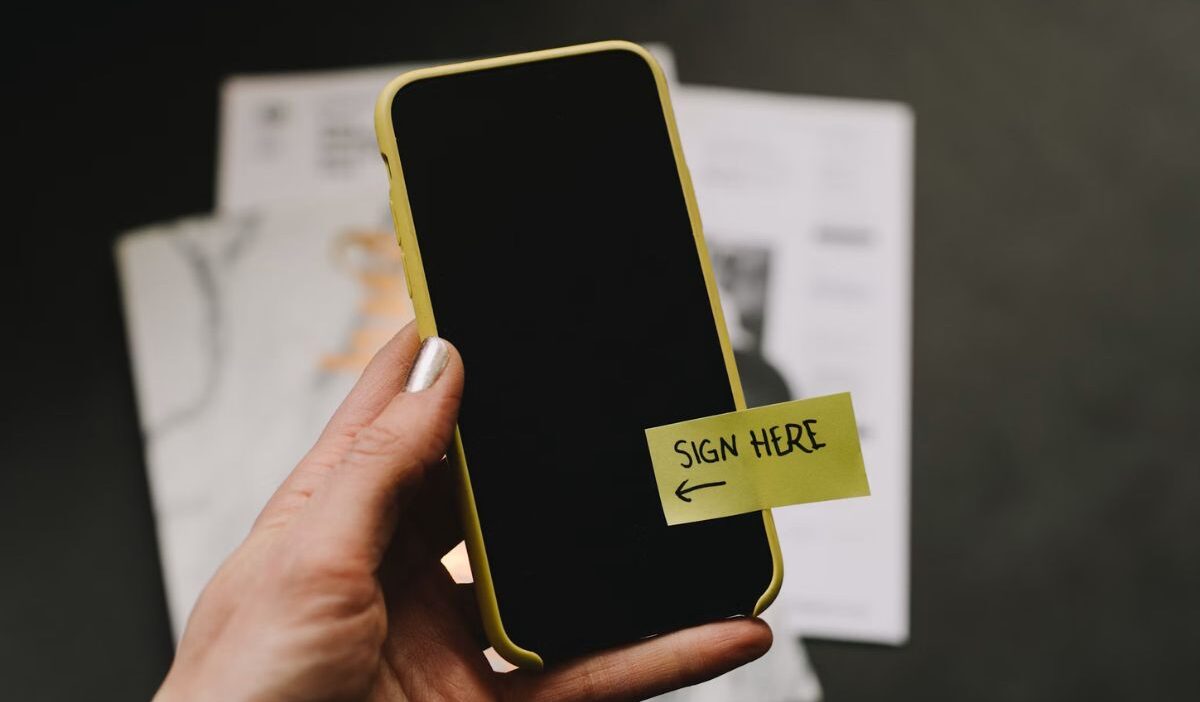
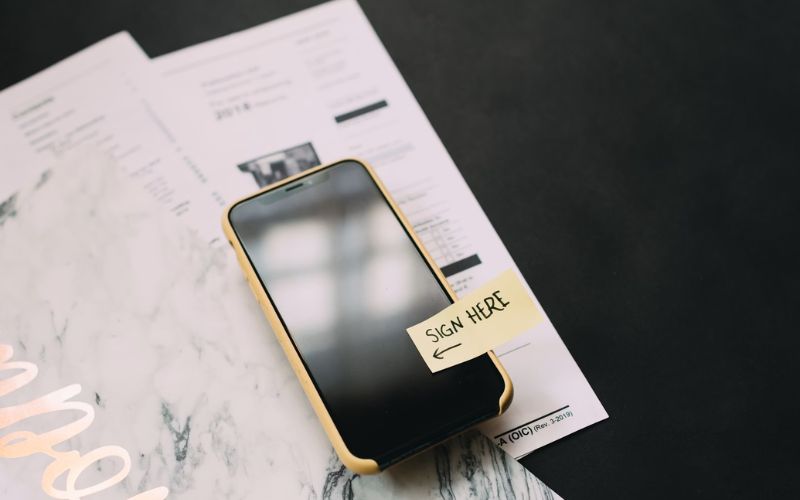
How to sign a document on iPhone becomes important the moment a form, contract, or approval request lands in your inbox and needs a signature right away.
What often seems like a task that requires a computer can usually be completed directly from your phone in just a few minutes.
Whether you’re working with a PDF, a scanned document, or an email attachment, understanding the available signing options can make the process much smoother.
1. How to Sign a Document on iPhone: Before You Sign
Before learning how to sign a document on iPhone, it’s helpful to understand which files support signatures and which tools are already available on your device.
Supported document types
The built-in iPhone signing tools work with several common file formats, including:
- PDF files
- Images (JPG, PNG, HEIC)
- Screenshots
- Scanned documents
- Attachments received through Mail
Some Word documents may require conversion to PDF before signing.
Built-in signing options
Apple’s Markup feature is built into iPhone and is available on supported versions of iOS, which allows users to create and insert signatures without installing additional software.
Markup is available in:
- Files app
- Mail app
- Photos app
- Notes app
This built-in feature is often the easiest answer to how to sign a document on iPhone.
2. Using Markup to Sign a Document on iPhone
For most users, Markup provides the fastest way to digital signatures. Once you understand how to sign a document on iPhone using Markup, you can complete many signing tasks directly from your device.
Step 1: Opening the document
Open the document from:
- Files
- Notes
- Photos
Tap the document to view it.
Step 2: Accessing markup tools
Look for the Markup icon, which appears as a pen tip or marker symbol. Tap the icon to open the editing toolbar.
Step 3: Creating a Signature
- Tap the “+” button.
- Select Add Signature.
- Draw your signature using your finger.
- Tap Done when finished.
- The signature can be saved for future use.
Step 4: Positioning and resizing the signature
After inserting the signature,
- Drag it to the correct location.
- Pinch to resize.
- Adjust placement as needed.
This flexibility makes it easy to sign forms with different layouts.
Step 5: Saving the Signed Document
Once the signature is positioned correctly:
- Tap Done.
- Save the document.
- Share or send it if needed.
Your signed copy is now ready to use.
>>> Read more: How to Rotate Photo on iPhone: Rotate, Flip, and Straighten
3. How to Sign a PDF on iPhone
PDFs are among the most common documents people sign on mobile devices. Fortunately, how to sign a document on iPhone becomes even easier when working with PDF files.
Signing PDFs in files
If the PDF is stored in the Files app:
- Open the file.
- Tap the Markup icon.
- Select Add Signature.
- Place the signature.
- Save the document.
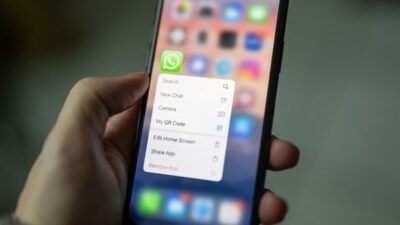
Signing PDFs in mail
When receiving a PDF by email:
- Open the attachment.
- Tap the Markup button.
- Insert your signature.
- Save or send the signed version directly from Mail.
This approach is useful when responding to contracts or approval forms.
Editing existing PDF documents
Markup can also be used to:
- Add text
- Highlight content
- Draw annotations
Some fillable PDF fields may also be completed directly on an iPhone, depending on the document.
This means you can often prepare and sign a PDF without leaving your iPhone.

4. Different Ways to Sign Documents on iPhone
While Markup handles most situations, other methods may be useful depending on the document type.
Using notes
The Notes app can scan paper documents and convert them into digital files.
After scanning:
- Open the document.
- Tap Markup.
- Insert your signature.
- Save the updated version.
Learning how to sign a document on iPhone is especially useful when you need to sign printed paperwork quickly.
Using third-party signing apps
Some users need additional features such as:
- Multiple signatures
- Cloud storage integration
- Team collaboration
- Audit trails
Popular document-signing apps provide these tools, though many everyday signing tasks can be completed using Apple’s built-in options.
5. Tips for Faster Document Signing
Once you’ve learned how to sign a document on iPhone, a few habits can make the process even quicker.
- Save your signature after creating it.
- Store commonly used documents in Files.
- Convert Word files to PDF before signing.
- Keep iCloud Drive enabled for easier access across devices.
- Review document fields before placing your signature.
- Use landscape mode when signing detailed forms.
These small adjustments can save time when signing multiple documents.
>>> Read more: Update Email Password on iPhone: Easy Explanation
6. FAQs
Can I sign a document on my iPhone without downloading an app?
Yes. Apple’s built-in Markup feature allows you to sign many document types without installing additional software.
Can I sign Word documents on my iPhone?
Yes, in some cases. Word documents can often be signed through Microsoft Word, but converting the file to PDF may provide a more reliable signing experience.
Can I create multiple signatures on an iPhone?
Yes. iPhone allows you to save multiple signatures in Markup, making it easier to switch between personal and business signatures when needed.
Why can’t I edit a document before signing it?
Some documents may be locked, password-protected, or saved in a format that restricts editing. You may need additional permissions or a compatible app to make changes.
Can I sign and send a document directly from my iPhone?
Yes. After signing, you can immediately share the document through Mail, Messages, AirDrop, or cloud storage services without using another device.
Conclusion
Once you know how to sign a document on iPhone, handling forms and paperwork becomes far less intimidating.
What used to require multiple devices can often be completed from a single screen, whether you’re at home, at work, or on the move.
The next time a document arrives waiting for your signature, you’ll already know exactly where to start.