Moving to a new country or trying to access region-specific apps can quickly lead to one question: how to change country on iPhone.
While Apple makes it possible to switch regions through your Apple ID settings, there are a few requirements to complete before the change can go through successfully.
This guide explains the steps, common issues, and what happens after you switch countries.
1. Requirements Before Changing Your Country
Before learning how to change country on iPhone, make sure your Apple ID meets Apple’s requirements. Overlooking any of these requirements can prevent the country from changing.
Cancel active subscriptions
Apple requires active subscriptions to be canceled and fully expired before changing regions.
Examples include:
- Apple Music
- Apple TV+
- Apple Arcade
- Third-party App Store subscriptions
Wait until subscriptions expire before proceeding.
Spend the remaining account balance
If your Apple ID still has store credit, you may need to spend the remaining balance first. Even a small remaining Apple ID balance must be spent before you can change countries.
Complete pending purchases
Pending purchases, pre-orders, rentals, or refunds can temporarily lock your account region. Check your purchase history and wait for transactions to finish processing.
Verify a valid payment method
Many regions require a valid payment method from the new country, although some allow selecting “None” depending on account status. For example, someone moving from the United States to Canada may need a Canadian payment method when switching regions.
2. How to Change Country on iPhone
Once the requirements are complete, how to change country on iPhone becomes a straightforward process.
Step 1: Open Apple ID settings
- Open Settings.
- Select your Apple ID profile at the top of the page.
This opens your account settings.
Step 2: Access media and purchases
- Select Media & Purchases.
- Tap View Account (or Account Settings, depending on iOS version)
- Authenticate if prompted.
You’ll now have access to your App Store account settings.
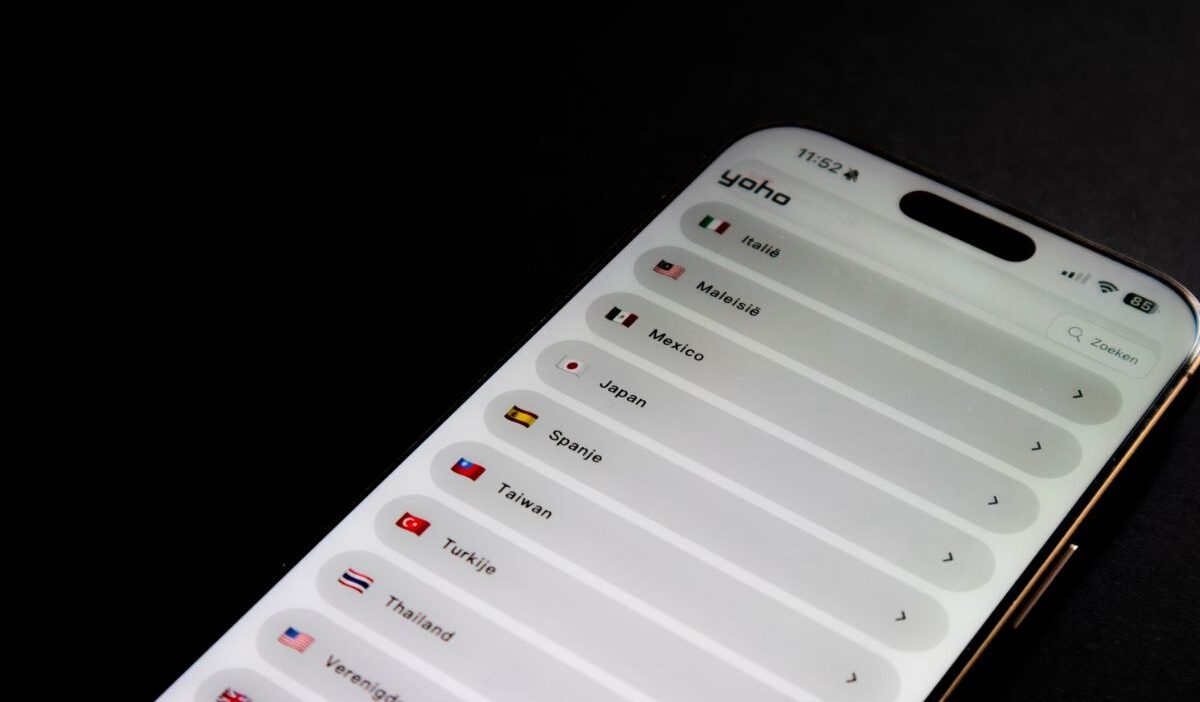
Step 3: Select country or region
- Tap Country/Region.
- Select Change Country or Region.
You’ll see a list of supported countries and regions to choose from.
Step 4: Review terms and conditions
Choose your new country and review Apple’s terms and conditions.
Tap Agree to continue.
Step 5: Update payment information
Enter the required billing details for the new region. Depending on the country, Apple may request:
- Payment method
- Billing address
- Postal code
- Phone number
Step 6: Confirm the change
Review the information and save your changes. Once completed, your Apple ID will switch to the new country’s App Store and service settings, and you may need to update payment details or re-download certain apps. This final step completes how to change country on an iPhone.
>>> Read more: iPhone Clear App Cache Without Deleting App: A Complete Guide
3. How to Fix Country Change Issues
You may need to try again if the change doesn’t complete the first time. If you’re trying how to change country on iPhone and encounter an error, these checks often help.
Review account requirements
Go back through the requirements section and confirm:
- No active subscriptions remain
- No account balance exists
- No pending purchases are waiting
Many region-change problems originate here.
Check Family Sharing settings
Family Sharing can prevent region changes, and you may need to leave the group or be removed by the organizer.
Resolve subscription conflicts
Even canceled subscriptions can temporarily block a region switch until the billing period ends. Verify that all subscriptions have fully expired.
Contact Apple Support when needed
If you’re trying to learn how to change country on iPhone and the switch still fails, Apple Support can check for account restrictions that aren’t shown in Settings.
4. What Changes After You Switch Countries
Understanding how to change country on iPhone is only part of the process. It’s also important to know what changes afterward.
- Apps and services
Some apps available in one country may not be available in another. Likewise, certain services may appear or disappear based on regional licensing agreements.
- Payment methods
Your payment methods must match the requirements of the selected region. You may need to update billing information after the switch.
- Regional availability
If you’re learning how to change country on iPhone, keep in mind that movies, music, subscriptions, and apps available in one region may not be accessible in another.
- Purchase access
Some previous purchases remain available, while others may be affected by regional licensing restrictions. This depends on the content provider and the country involved.
>>> Read more: How to Know If Your iPhone Is Hacked: Warning Signs and Solutions
5. FAQs
Why can’t I change my country on my iPhone?
The most common reasons include active subscriptions, pending purchases, remaining Apple ID balance, Family Sharing membership, or an invalid payment method.
Do I need a new Apple ID to switch regions?
No. You can usually change your existing Apple ID region, as long as you meet Apple’s requirements.
Can I change back to my original country later?
Yes. You can switch to your previous country or region again, provided your Apple ID still meets the necessary eligibility requirements.
Does changing countries affect iCloud data?
No, iCloud data is generally not affected, but you may need to re-verify some services or settings.
Will changing your country cause you to lose your apps?
Usually no. Installed apps usually remain on your device, but some may become unavailable for re-download or updates depending on the new region.
Conclusion
Learning how to change country on iPhone can be useful when relocating, traveling long-term, or accessing content available in a different region.
While the process itself only takes a few minutes, Apple requires several account conditions to be met before the change can be completed.