How to turn off location on iPhone often comes up when you start noticing your phone seems to “know” more than it should.
You open an app, and it already suggests places nearby or tracks where you have been.
At first, this feels convenient, but over time, it raises a question about how much information is being shared behind the scenes. So you begin looking for a way to manage this without breaking essential features.
Let’s go through each method so you can adjust your settings.
1. What Location Services Do on iPhone
Before adjusting any settings, it helps to understand what Location Services actually do on your iPhone and how they affect your everyday use.
How location data is used
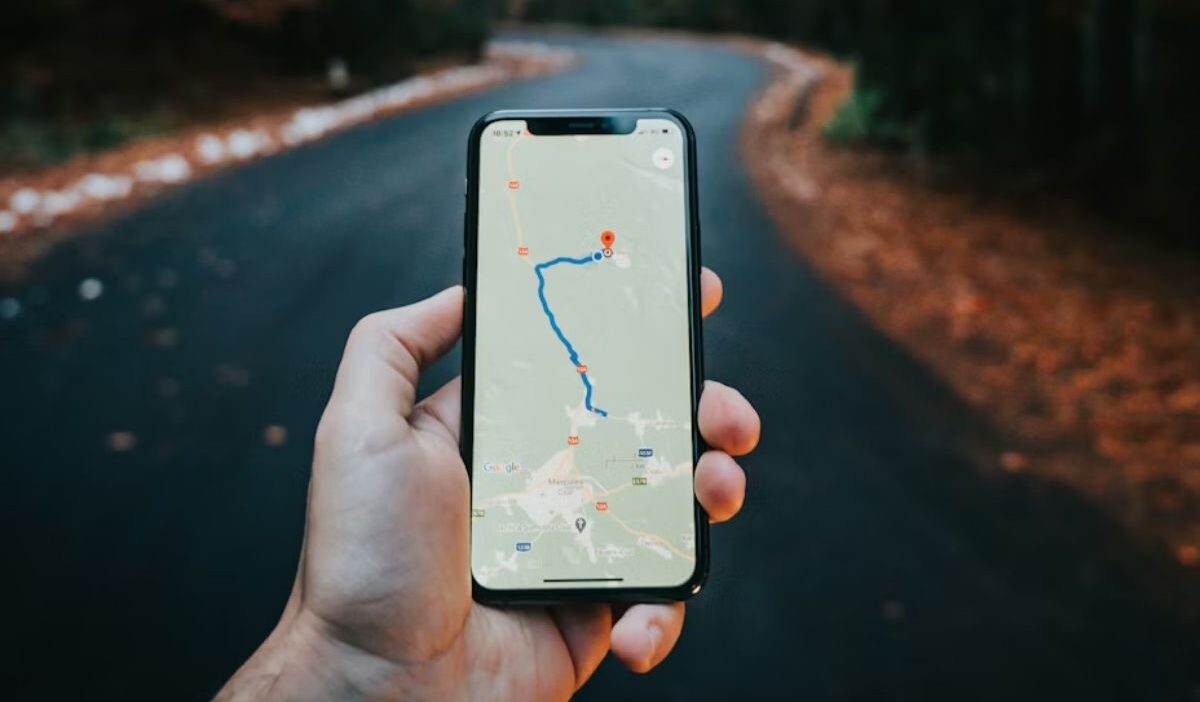
How to turn off location on iPhone? Your iPhone determines your position by combining GPS signals, nearby Wi-Fi networks, and cellular towers. This allows apps to deliver accurate directions, local search results, and real-time updates.
The system works continuously, which is why location tracking can happen even when you are not actively thinking about it.
Why do some apps require location access
Certain apps depend on location to function properly. Navigation apps need it for routes, while ride or delivery services use it for tracking.
The key difference lies in purpose. Some apps need it actively, while others use it more than necessary.
2. How to Turn Off Location on iPhone Completely
If you prefer more privacy, you can turn off Location Services entirely and stop your iPhone from sharing your location.
Step 1: Open Settings
Start by opening the Settings app. This is where your iPhone organizes all permissions, including location access.
Step 2: Tap Privacy & Security
Scroll down and tap “Privacy & Security.” This section groups all data-related controls in one place.
Step 3: Select Location Services
Enter “Location Services” to view every app and system feature that uses your location.
Step 4: Toggle off Location Services
Turn off the main switch at the top. This action immediately stops all apps and services from accessing your location.
Step 5: Confirm Turn Off
Confirm your choice when prompted. Once completed, your iPhone will no longer track or share your location at any level, which directly answers how to turn off location on iPhone.
3. How to Turn Off Location on iPhone for Specific Apps
If you only want to limit certain apps, you can choose which ones have access to your location instead of turning it off completely.
Step 1: Open Settings
Go back to Settings to adjust permissions for individual apps instead of turning everything off.
Step 2: Tap Privacy & Security
Tap “Privacy & Security” again to reach permission controls.
Step 3: Select Location Services.
Select “Location Services” to see which apps currently use location data.
Step 4: Choose an app
Choose an app you want to restrict. Apps that do not need location regularly are good candidates.
Step 5: Select “Never”
Select “Never” to block location access completely for that app. This method gives you more control while keeping essential apps functional.
>>> Read more: How to Turn Off Lock Screen iPhone: Easy Methods Explained
4. How to Turn Off Location Sharing on iPhone
If you want to know how to turn off location on iPhone so that other people don’t know your current location, you can turn off location sharing without affecting other location features.
Step 1: Open Settings
Open Settings and tap your name at the top to access Apple ID settings.
Step 2: Tap Apple ID (your name)
This section manages account-based features, including location sharing.
Step 3: Select Find My
Select “Find My” to manage device tracking and sharing options.
Step 4: Tap Share My Location
Tap “Share My Location” to review whether your location is being shared.
Step 5: Toggle off Share My Location
Disable the toggle to stop sharing your location. This ensures your real-time position is no longer visible to others through your account.

5. How to Turn Off Location on iPhone Without Affecting Important Features
If you still want certain features to work, you can adjust your settings to limit location access without turning everything off completely.
Step 1: Open Settings
Go to Settings to begin adjusting permissions in a more balanced way.
Step 2: Tap Privacy & Security
Navigate to Privacy & Security and open Location Services.
Step 3: Select Location Services
Look through the list of apps and identify which ones actually need location access.
Step 4: Choose specific apps
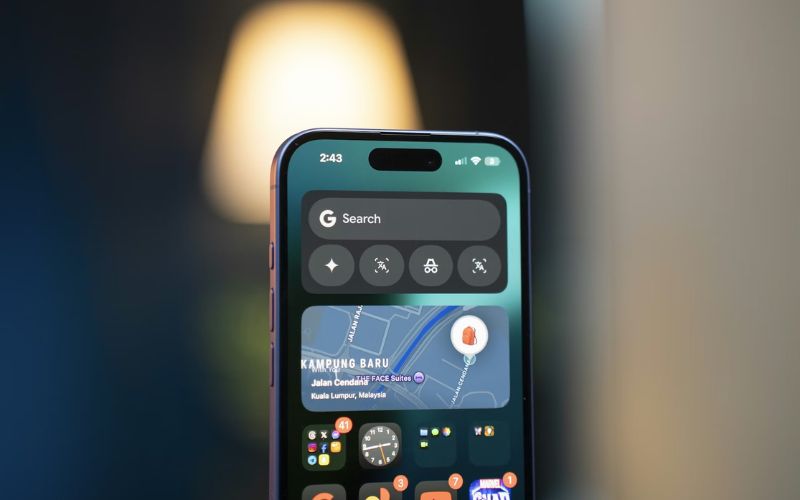
Choose apps like Maps or transportation services that require location to function properly.
Step 5: Select “While Using the App”
Allow access only when the app is active. This prevents background tracking while keeping the app useful.
Step 6: Tap System Services
Scroll down and tap “System Services” to manage deeper system-level settings.
Step 7: Keep Emergency Calls & SOS enabled
Leave Emergency Calls & SOS enabled. This ensures safety features remain available even when most tracking is limited.
>>> Read more: How to Turn Off iPhone 16: Quick Guide When Function Fails
6. FAQs
How to turn off location on iPhone without affecting maps?
Set Maps to “While Using the App.” This allows navigation to work normally while preventing constant tracking in the background.
Does turning off location improve battery life?
Yes, limiting location access reduces background activity, which can help extend battery life.
Can someone still track me if the location is off?
When both location services and sharing are disabled, tracking becomes very limited. However, the general location may still be estimated through network connections.
Conclusion
Controlling location settings gives you a clearer boundary between convenience and privacy.
When you understand how to turn off location on iPhone, you can decide exactly how much access each app should have.
Take a few minutes to review your settings, adjust permissions, and keep only what you truly need.
These small changes help you stay in control without losing essential functionality.