How to blur a photo on iPhone depends on what you want to blur. If the goal is a softer background, Apple’s Portrait tools may already be enough. If you need to hide a face, license plate, or other sensitive detail, the approach is different because the Photos app does not include a built-in selective blur brush.
The guide below walks through the native options first, then explains when a third-party editor is actually necessary.
1. How to Blur the Background of a Photo
Background blur on iPhone is mainly handled through Portrait features. Depending on your iPhone model and how the photo was captured, you may be able to control the blur while shooting or adjust it afterward.
Use Portrait Mode While Shooting
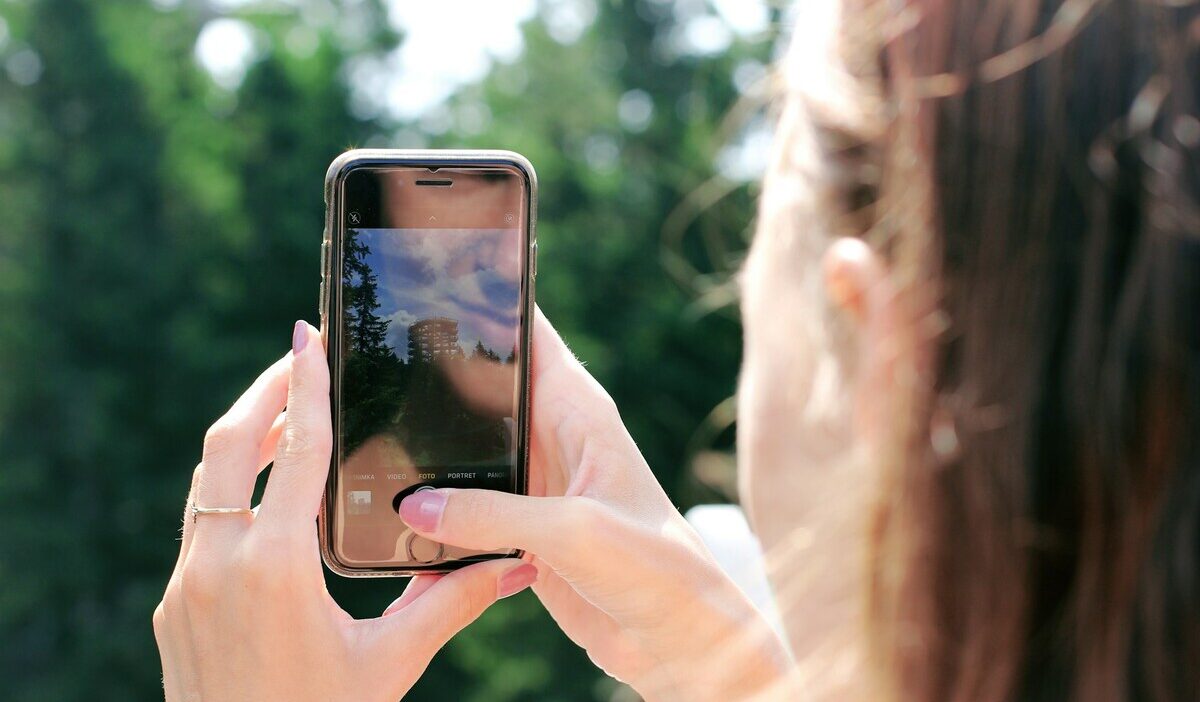
Open the Camera app and swipe to Portrait mode.
Frame your subject and follow any on-screen guidance about distance or lighting. When the Portrait effect is ready, the lighting effect name turns yellow, indicating that the camera has detected the subject and can apply the depth effect.
Tap the Shutter button to take the photo.
For a stronger natural separation between the subject and background, it also helps to keep the background farther behind the subject instead of directly against it.
Adjust Depth Control After the Shot
Photos captured with Portrait depth information can be adjusted later.
Open the photo in the Photos app and tap Edit. If Depth Control is available, use the f-number slider to increase or decrease the background blur.
A lower simulated f-number generally creates a stronger blur, while a higher value keeps more of the background in focus.
The adjustment is non-destructive. You can return to the photo later and change the blur again or turn the Portrait effect off entirely.
What If the Photo Wasn’t Taken in Portrait Mode?
A photo does not always have to be taken directly in Portrait mode to support background blur afterward.
On supported newer iPhones, certain photos taken in regular Photo mode can automatically capture depth information when a person, dog, or cat is detected. If that depth data is available, the Photos app may let you apply or adjust the Portrait effect later.
If no Portrait option appears when you edit the image, the photo does not contain usable depth information for Apple’s native blur controls.
In that case, you have two main options:
- Use natural depth of field by moving closer to the subject while keeping the background farther away when taking a new photo.
- Use a photo editor with background blur or masking tools for an existing image.
2. How to Blur a Specific Part of a Photo
Blurring a face, license plate, document, or other specific area is different from how to blur a photo on iPhone for the background.
The Photos app does not include a built-in selective blur brush. However, if your goal is privacy rather than a visual blur effect, Markup can still help.
Open the photo in Photos, tap Edit, then open Markup. Add an opaque shape, such as a filled rectangle or circle, over the sensitive information.
This is not technically a blur, but it is often more reliable for privacy because it fully covers the detail instead of merely softening it.
For an actual blur effect over only part of the image, use a photo-editing app that supports selective blur, masking, or brush-based blur. This gives you control over exactly which part of the photo is softened while leaving the rest untouched.
3. If You Want to Blur an Entire Photo
How to blur a photo on iPhone, but for the entire image? The Photos app does not provide a general full-image blur slider.
If you want the whole image blurred for a text background, design effect, thumbnail, or soft aesthetic, the most practical option is a photo editor with a blur or defocus tool.
Look for an editor that lets you:
- Blur the full image evenly
- Adjust blur strength
- Apply tilt-shift or lens-style effects
- Save the edited version without replacing the original
For simple visual effects, a dedicated editor is usually faster than trying to recreate blur indirectly with other iPhone apps.
>>>Read more: How to Blur Background on iPhone Photos Fast
4. Blurring for Privacy vs. Blurring for Style
The best method for how to blur a photo on iPhone, depends on why the image is being blurred.
Style blur is meant to create depth or guide attention toward a subject. Portrait mode and Depth Control are ideal for this because they create a gradual, photographic background effect.
Privacy blur has a different goal: hiding information so it cannot be easily read or recognized.
A light Gaussian blur may still leave shapes, numbers, or facial features partly recognizable. If the information is truly sensitive, covering it completely with an opaque Markup shape is safer than relying on blur alone.
That distinction matters most for things like:
- License plates
- Addresses
- Account numbers
- IDs
- Private documents
5. When a Third-Party App Is Worth Using
Apple’s built-in tools cover basic background blur and simple privacy redaction, but a third-party editor is useful when you need more control.
Consider one when you need:
- Selective blur over a specific area
- Full-image blur
- Background blur on a photo without depth data
- Fine control around hair, fur, or complex edges
- Batch editing
- Background replacement
- Blur throughout an entire video clip
For video, note that iPhone can isolate a subject from a paused frame in some contexts, but it does not natively remove or blur the background throughout the full moving video. A video editor with segmentation or green-screen tools is better for that job.
6. FAQs
Can I Blur a Photo Without Downloading an App?
Yes, for background blur. Portrait mode and Depth Control are built into supported iPhones. For privacy, Markup can cover sensitive areas with an opaque shape, although it does not create a true blur effect.
Does Blurring Remove EXIF or Location Data Too?
No, you should not assume that blurring or using Markup removes location metadata. Image edits and metadata are separate, so check or remove location information before sharing if privacy matters.
Can I Unblur a Photo After Saving It?
If the blur comes from Apple’s editable Portrait effect, you can reduce or remove it later in Photos. A blur permanently applied and exported by another editing app usually cannot be reversed unless you still have the original unedited image.
Does Portrait Mode Work on Every iPhone Model?
No. Portrait mode is available on many newer iPhones, but the supported cameras and subject types vary by model. If Portrait mode or a specific Portrait feature does not appear, check the specifications for your iPhone.
Conclusion
Blurring a photo can mean anything from creating a softer background to hiding information before sharing. For how to blur a photo on iPhone, Portrait tools are the best place to start for background effects, while Markup works better when privacy matters more than appearance.
When the built-in tools are not enough, a dedicated editor gives you the extra control. The important part is choosing the method based on what you actually want the blur to do, not just how it looks.