How to reverse a video on iPhone requires a third-party app or online editor because neither Photos nor iMovie for iPhone includes a built-in reverse tool. The good news is that the process is still simple, whether you want to reverse the entire clip or just one section.
Use the methods below to choose the fastest option for your edit and avoid common export or audio issues along the way.
1. Can You Reverse a Video Directly on iPhone?
No. There is no built-in way to reverse a video directly inside the iOS Photos app. The edit tools in Photos only cover trimming, rotating, cropping, and basic filters, none of which touch playback direction.
iMovie for iPhone doesn’t include it either, even though the desktop version of iMovie on Mac does.
This is a genuine gap in Apple’s own apps, not a hidden setting buried somewhere in the interface.
Reversing a video on iPhone always requires either a third-party app or an online tool, covered in the two methods below.
2. How to Reverse a Video on iPhone Using an App
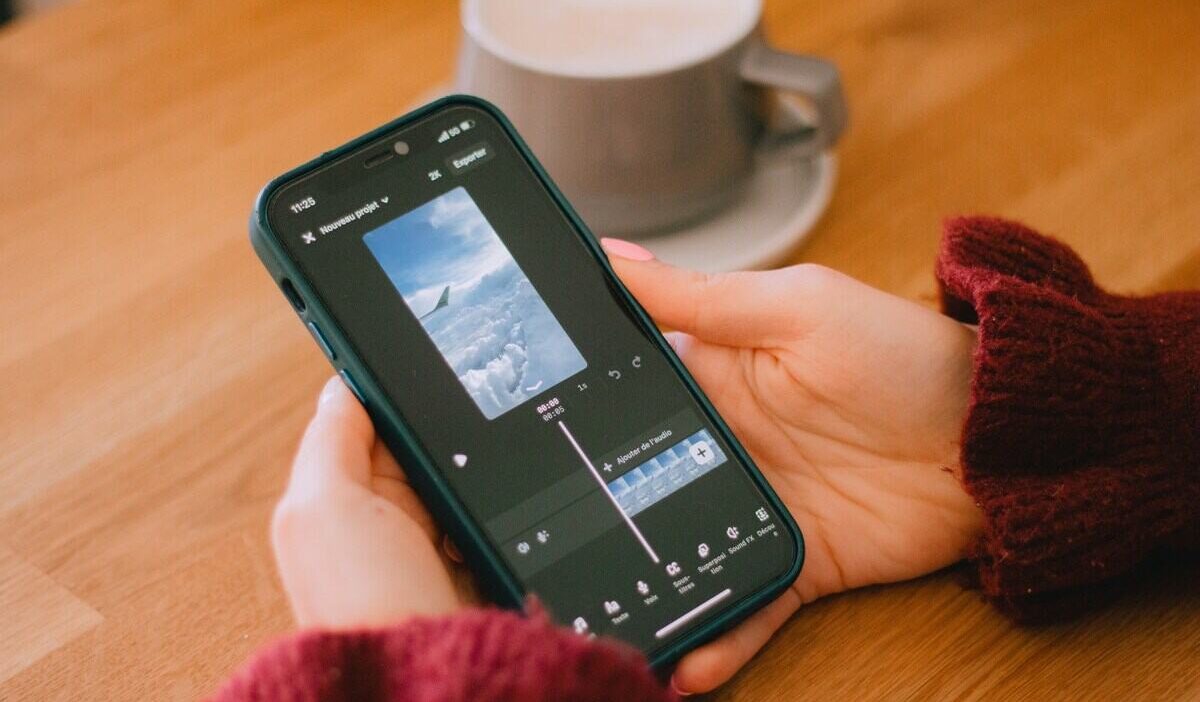
CapCut is a free video editor with a built-in Reverse tool. Standard manual projects can usually be exported without a watermark, although some templates or assets may include branding. Follow the detailed steps below:
- Download and open CapCut from the App Store
- Tap New Project and select your video from your gallery
- Tap Add in the bottom-right corner
- Tap the video clip directly in the timeline at the bottom
- Scroll the bottom tool menu to the left and tap Reverse
- Wait for the app to finish processing, then tap Export to save it back to your Photos app
>>> Read more: How to Speed Up a Video on iPhone: Easy Built-In and App Methods
3. Reverse a Video on iPhone Without an App
A free online video reverser works entirely in Safari or Chrome, so nothing needs to be installed.
- Open Safari or Chrome and go to a free online video reverser
- Tap Choose File, then select the video from your Photo Library
- If the tool offers an audio option, mute the reversed audio if you do not want the backward sound effect.
- Tap Reverse Video
- Wait for processing, then tap Download to save the file back to your device
Note: Reversed audio often sounds distorted. Muting the video before reversing avoids this if sound is not important.
4. If You Only Want to Reverse a Part of the Video
Reversing an entire clip isn’t always the goal. A single moment can be isolated instead.
- Split the clip at the point where the reversed section should start
- Select just that trimmed section in the editing timeline
- Apply the Reverse effect only to that segment
- Leave the surrounding clips untouched, playing normally before and after
In CapCut, split or trim the clip first, then apply Reverse only to the selected segment. With online tools, you may need to trim the section separately before uploading it.
5. Tips for Better Reversed Videos
A few small adjustments make a reversed clip look cleaner and more intentional rather than just backward footage.
- Trim before reversing. Cut out shaky starts or unwanted frames first so the reversed version starts and ends cleanly
- Mute the audio. Reversed audio usually sounds unnatural because the speech, music, and other sounds play backward. Mute it if the effect is not intentional.
- Pick short, clear actions. Clips with a simple motion, like water pouring or someone jumping, read better in reverse than busy scenes
- Keep the original. Export the reversed version as a new file rather than overwriting the original, in case both versions are needed
- Check lighting consistency. Videos with steady lighting throughout look smoother in reverse than clips with sudden light changes
>>> Read more: How to Edit Videos on iPhone: A Complete Guide for Beginners and Creators
6. What Should You Do If a Reversed Video Won’t Save or Play Correctly?
Most reversed video problems come from unsupported file formats, weak Wi-Fi during upload to an online tool, or the app running out of free processing credits. Checking the format and connection first resolves the majority of failed exports.
| Issue | What It Means | Quick Fix |
| Video won’t upload to online reverser | Unstable internet connection | Switch to a stronger Wi-Fi network before uploading |
| Export unavailable | Processing may still be running, or the project may not be ready to export | Wait for processing to finish, then try again. |
| Downloaded video won’t play | Export or file-format issue | Re-export using a widely supported format such as MP4 if the tool offers that option. |
| Audio sounds glitchy after reversing | Audio was reversed along with the video | Enable the mute option before processing next time |
>>> If you want to send a long video, let’s check: How to Send Long Videos on iPhone Without Losing Quality
7. FAQ
Q1. Can we reverse video in iPhone?
Yes, but not with a built-in tool. Neither the Photos app nor iMovie for iPhone includes a reverse feature. A free app like CapCut or a free online reverser tool is needed to play a clip backward.
Q2. How do I reverse a video in my gallery?
The Photos app itself has no reverse option. Open the video from the gallery inside a free editing app such as CapCut, or upload it to a free online reverser through Safari, then save the finished result back to the Photos app.
Q3. How do I reverse just part of a video, not the whole clip?
If you want only one section reversed while the rest stays normal, split the clip inside an editor such as CapCut, select that segment, and apply Reverse only to it.
Conclusion
Reversing a clip is easy once you know which tool fits the job. For how to reverse a video on iPhone, an app like CapCut gives you more control over partial edits, while an online reverser works well for a quick full-video effect.
The best result usually comes from keeping the edit simple: reverse only the moment that benefits from it, and let the rest of the video keep its natural flow.